|
August 1965 Popular Electronics
 Table of Contents Table of Contents
Wax nostalgic about and learn from the history of early electronics. See articles
from
Popular Electronics,
published October 1954 - April 1985. All copyrights are hereby acknowledged.
|
Usually an article about
clean layout techniques would be about printed circuit board layout; however, this
one refers to chassis layout. Having built many electronics chassis in my days as an
electronics technician (prior to earning an engineering degree), I have a great
appreciation for a professional-looking job. Some of the work done by hobbyists that
appear in magazines like QST, Nuts & Volts, and the older titles
like Poplar Electronics looks pretty darn nice - both for kits and
homebrews. It's a short article, but worth a quick look.
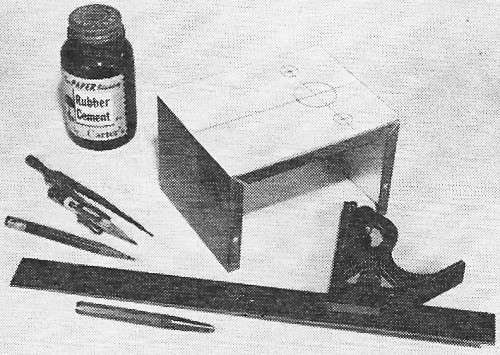
Clean Layout Technique
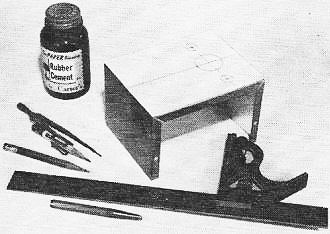 By E. G. Louis By E. G. Louis
To give your finished project that professional look, take care not to damage the
painted surface of the cabinet when you locate the various mounting holes. Cut a piece
of graph paper to cover the area to be drilled or punched and seal it down temporarily
with rubber cement. Then layout your drilling pattern using a sharp-pointed, soft-lead
pencil. Centerpunch hole locations and drill (or punch) through the graph paper. When
all machine work - including deburring - is finished, simply peel off the paper pattern.
Excess cement can be removed by rubbing the surface with a finger or a soft eraser. The
resulting surface should be smooth and clean. If you use decals or painted labels, protect
them with two or three coats of clear lacquer or acrylic plastic.
Posted May 31, 2018
|